3D Models | Digital Representations
zerolens requires 3D models to create realistic images. They portray real world objects or products and are used for a wide variety of mediums including commercial advertising, conceptual elements for art, video games and movies, engineering, architecture, 3D printing and computer-aided design (CAD).
In order to create a 3D model, dedicated 3D software is needed. Read more below to understand the required steps to build a 3D model:
- Modelling geometry
- Applying textures/materials
- Finishing 3D model
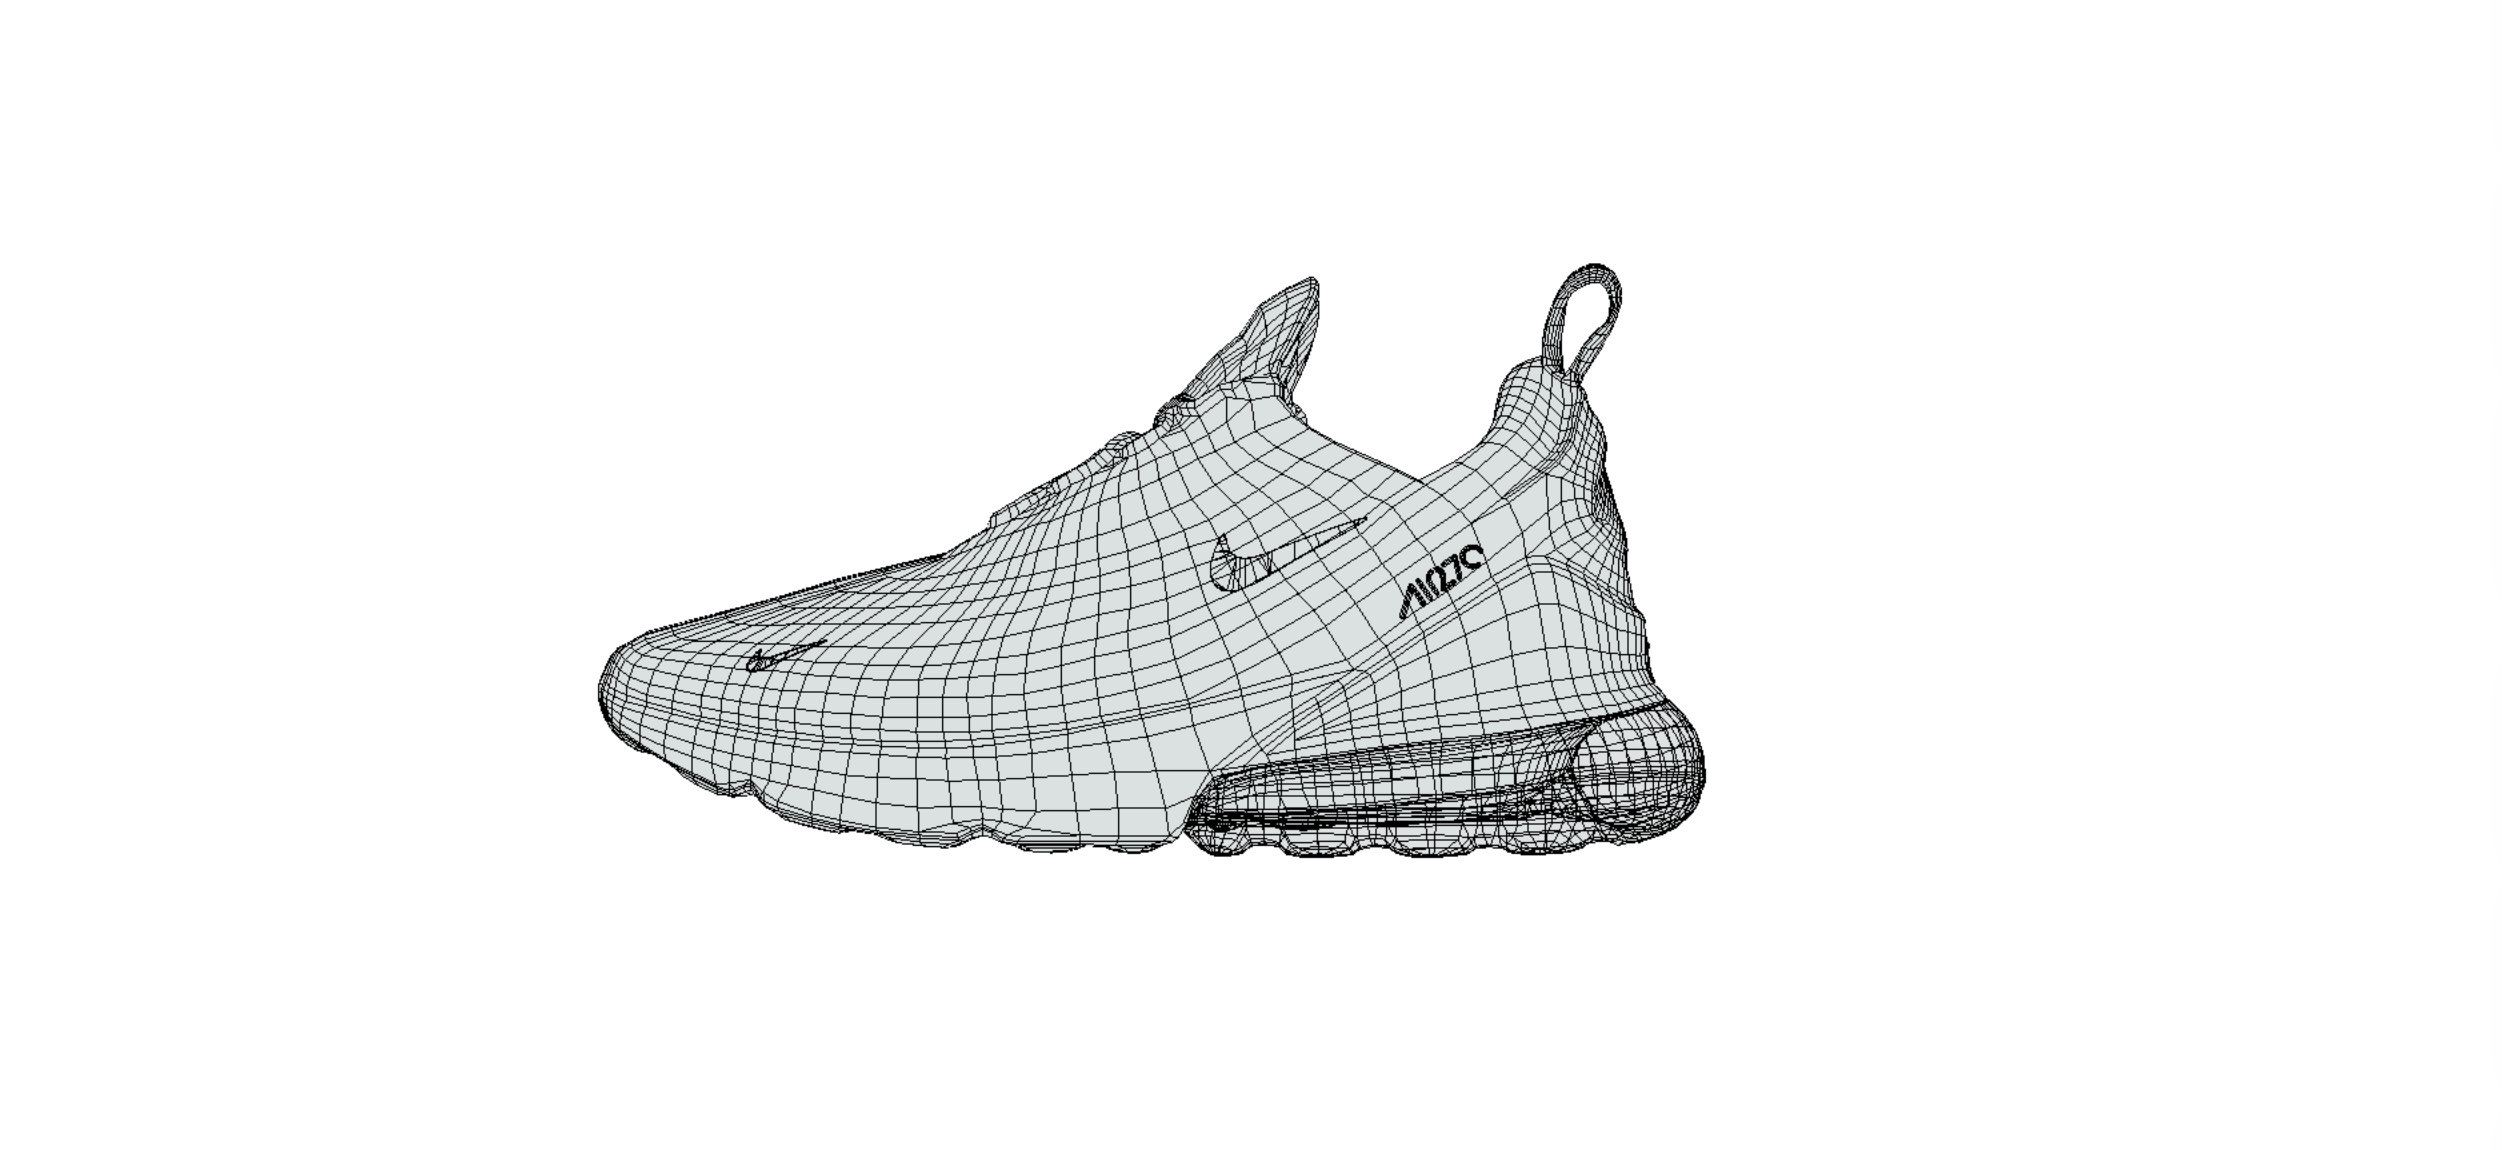
1. Modelling geometry
First a so-called "mesh" has to be formed in a 3D software. It is basically a collection of connected points ("vertices") in a virtual space. These points are then combined together as polygonal shapes, usually triangles, creating the model's geometry.
You can decide whether to start modelling from scratch, use a 3D scan as starting point or take existing geometric shapes and deforming the mesh to get the desired output.
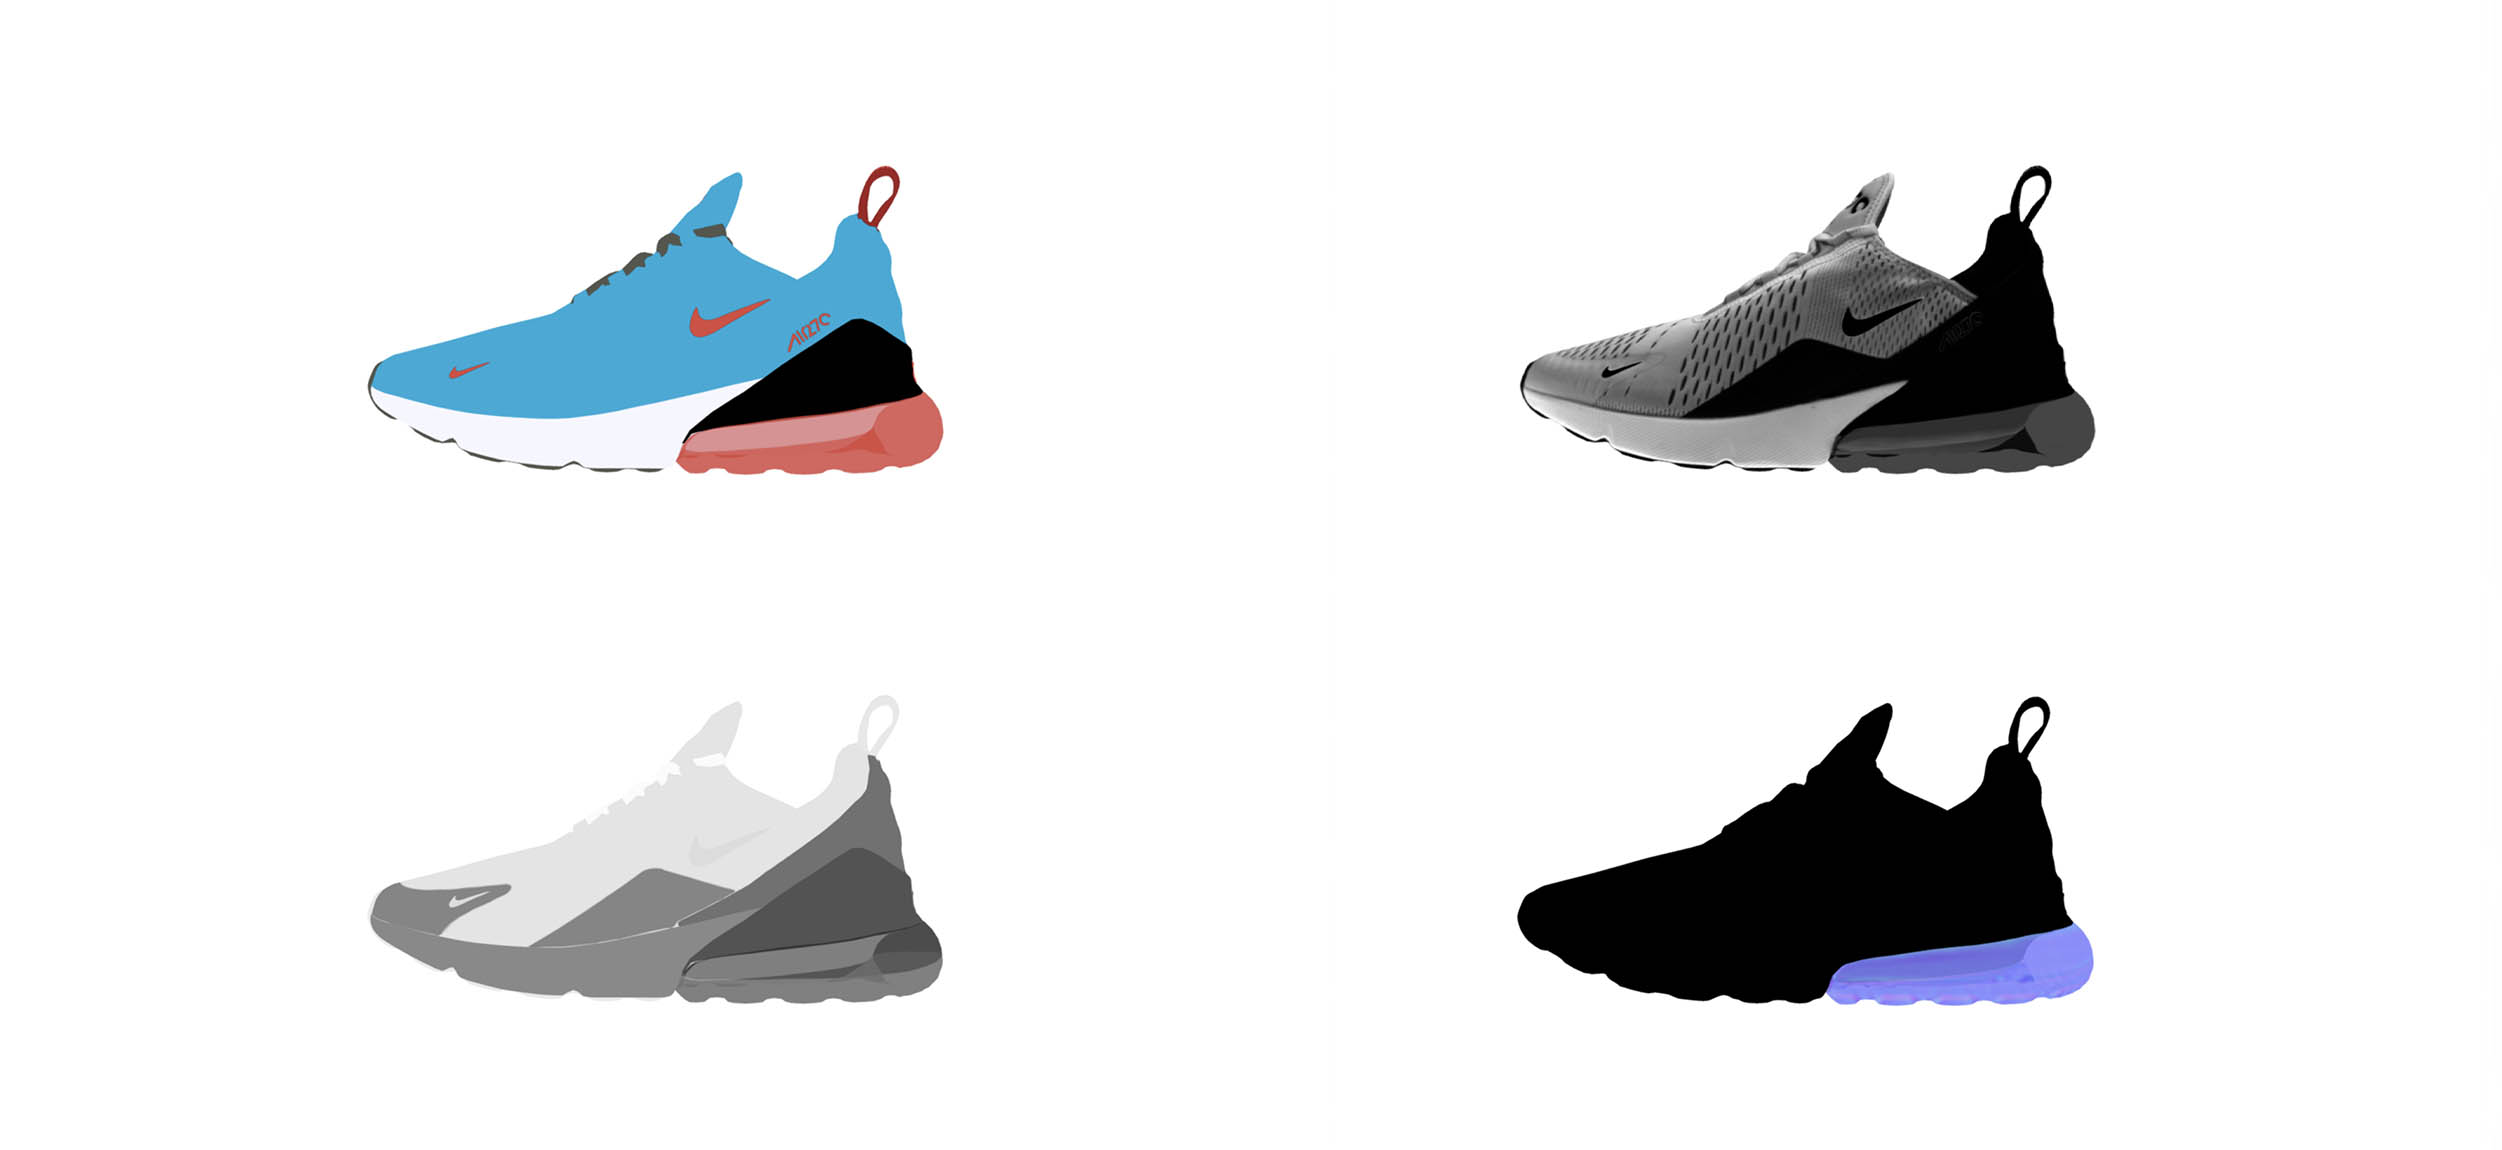
2. Applying texture/materials
Within the next step textures and materials have to be applied. Textures are simply images used to skin 3D objects. For instance, a photo of a piece of wood could be used to give a 3D model a realistic wooden look. Materials manage how a 3D object appears on the screen. They influence for example the color of the object or how reflective/dull the surface appears.
Our platform uses a PBR workflow to create realistic photos. This means we apply physically correct materials in order to simulate how light reacts with a respective model. It is an effective way of simulating real-world materials (f.e. concrete, marble, etc.). When working with a PBR workflow there are actually two different workflows, the Metallic Roughness workflow and the Specular Glossiness workflow. Both give basically the same result.
3. Finished 3D model
Once textures and materials are applied, the 3D model can be embedded in different environments under different light settings. In this process the image is "rendered". This process simulates light and will make the 3D model look realistic like in the real world.


