Simply Jump on Board
This post will show you how to use the basic functionalities of the zerolens web app:
- Choosing templates
- Camera controls
- Moving & transforming 3D models
- Adding 3D models
- Taking photos
1. Choosing templates
Login to the zerolens studio with your email adress and you are good to go. No installation is required.
On the zerolens feed, you can either search for keywords or just scroll down and become inspired by ready made photos. Once you find a virtual environment that you like, click on it.
2. Camera controls
First let's talk about how to move around in the virtual environment in order to position the camera.
2.1 Rotating the camera
Left Click and Drag the mouse to rotate the camera around.
2.2 Moving/panning the camera
Right Click and Drag the mouse to move the camera around.
2.3 Zooming into the scene
Zoom in by using your mouse wheel or the zoom function on your touchpad.
2.4 Resetting the camera
Left Click on the reset button to reset the camera to its initial position.
3. Transforming objects
This section will help you to understand how to move, rotate and scale 3D models within a scene. Further you will learn how to add new objects and delete existing ones.
3.1 Smart moving of objects
SHIFT + Left Click on the an object and Drag the object to the desired position or
- Select the "Place Tool" or Press "Q" on the 3D model you want to move
- Then simply Drag the model with your mouse to a desired location
This is the main method of moving 3D models in zerolens. You can use it to place 3D models in a physically correct manner.
3.2 Rotating objects
- Left Click on the 3D model you want to rotate
- Choose the "Rotation Tool" with Left Click or Press "E" on your keyboard
- Rotate the model with Left Click + Drag on the respective transform axis
Pro Tip: Hold "SHIFT" to rotate in 15° steps, Press "U" to switch between the local and the global coordinate system when rotating objects.
3.3 Scaling objects
Uniform scaling allows you to scale the object/product in size, so that the proportions will stay in the same ratio.
- Click on the 3D model that you want to scale in size
- Choose the "Scale Tool" or Press "R" on your keyboard
- Now Left Click in the center and Drag your mouse to create the desired size of the 3D model
Pro Tip: If you Drag on the single handles, the object will scale only in that direction.
4. Adding new objects or products
Learn how to add object or products into the virtual environment:
4.1 Adding objects to the scene
- Left Click on the an object in the "Object Panel" on the right hand side
- A ghost object appears on your mouse once the object is loaded
- Place the object by Left Clicking in the viewer where you want to place the object
4.2 Adding products to the scene
- Left Click the "Product Panel" button to open it
- Left Click on the product you want to add and wait until it the loading completed
- A "ghost object" appears on your mouse once the object is loaded
- Place the product by Left Clicking in the viewer where you want to place the object
Use zerolens with your own products. You don't need a 3D object of your product yet. Click here for more information on how to add you own products.
4.3 Deleting objects
- After selecting the object an "Object Panel" appeared on the upper right corner of the viewer
- Here you can switch between our tools (rotate, move & scale)
- Some objects have additional options such as changing the objects colors or material
Delete the object by Left Clicking on the "Delete Object" button
5. Taking photos
- Left Click the "Photo Button"
- Select the quality of the photo you prefer to receive in the final photo
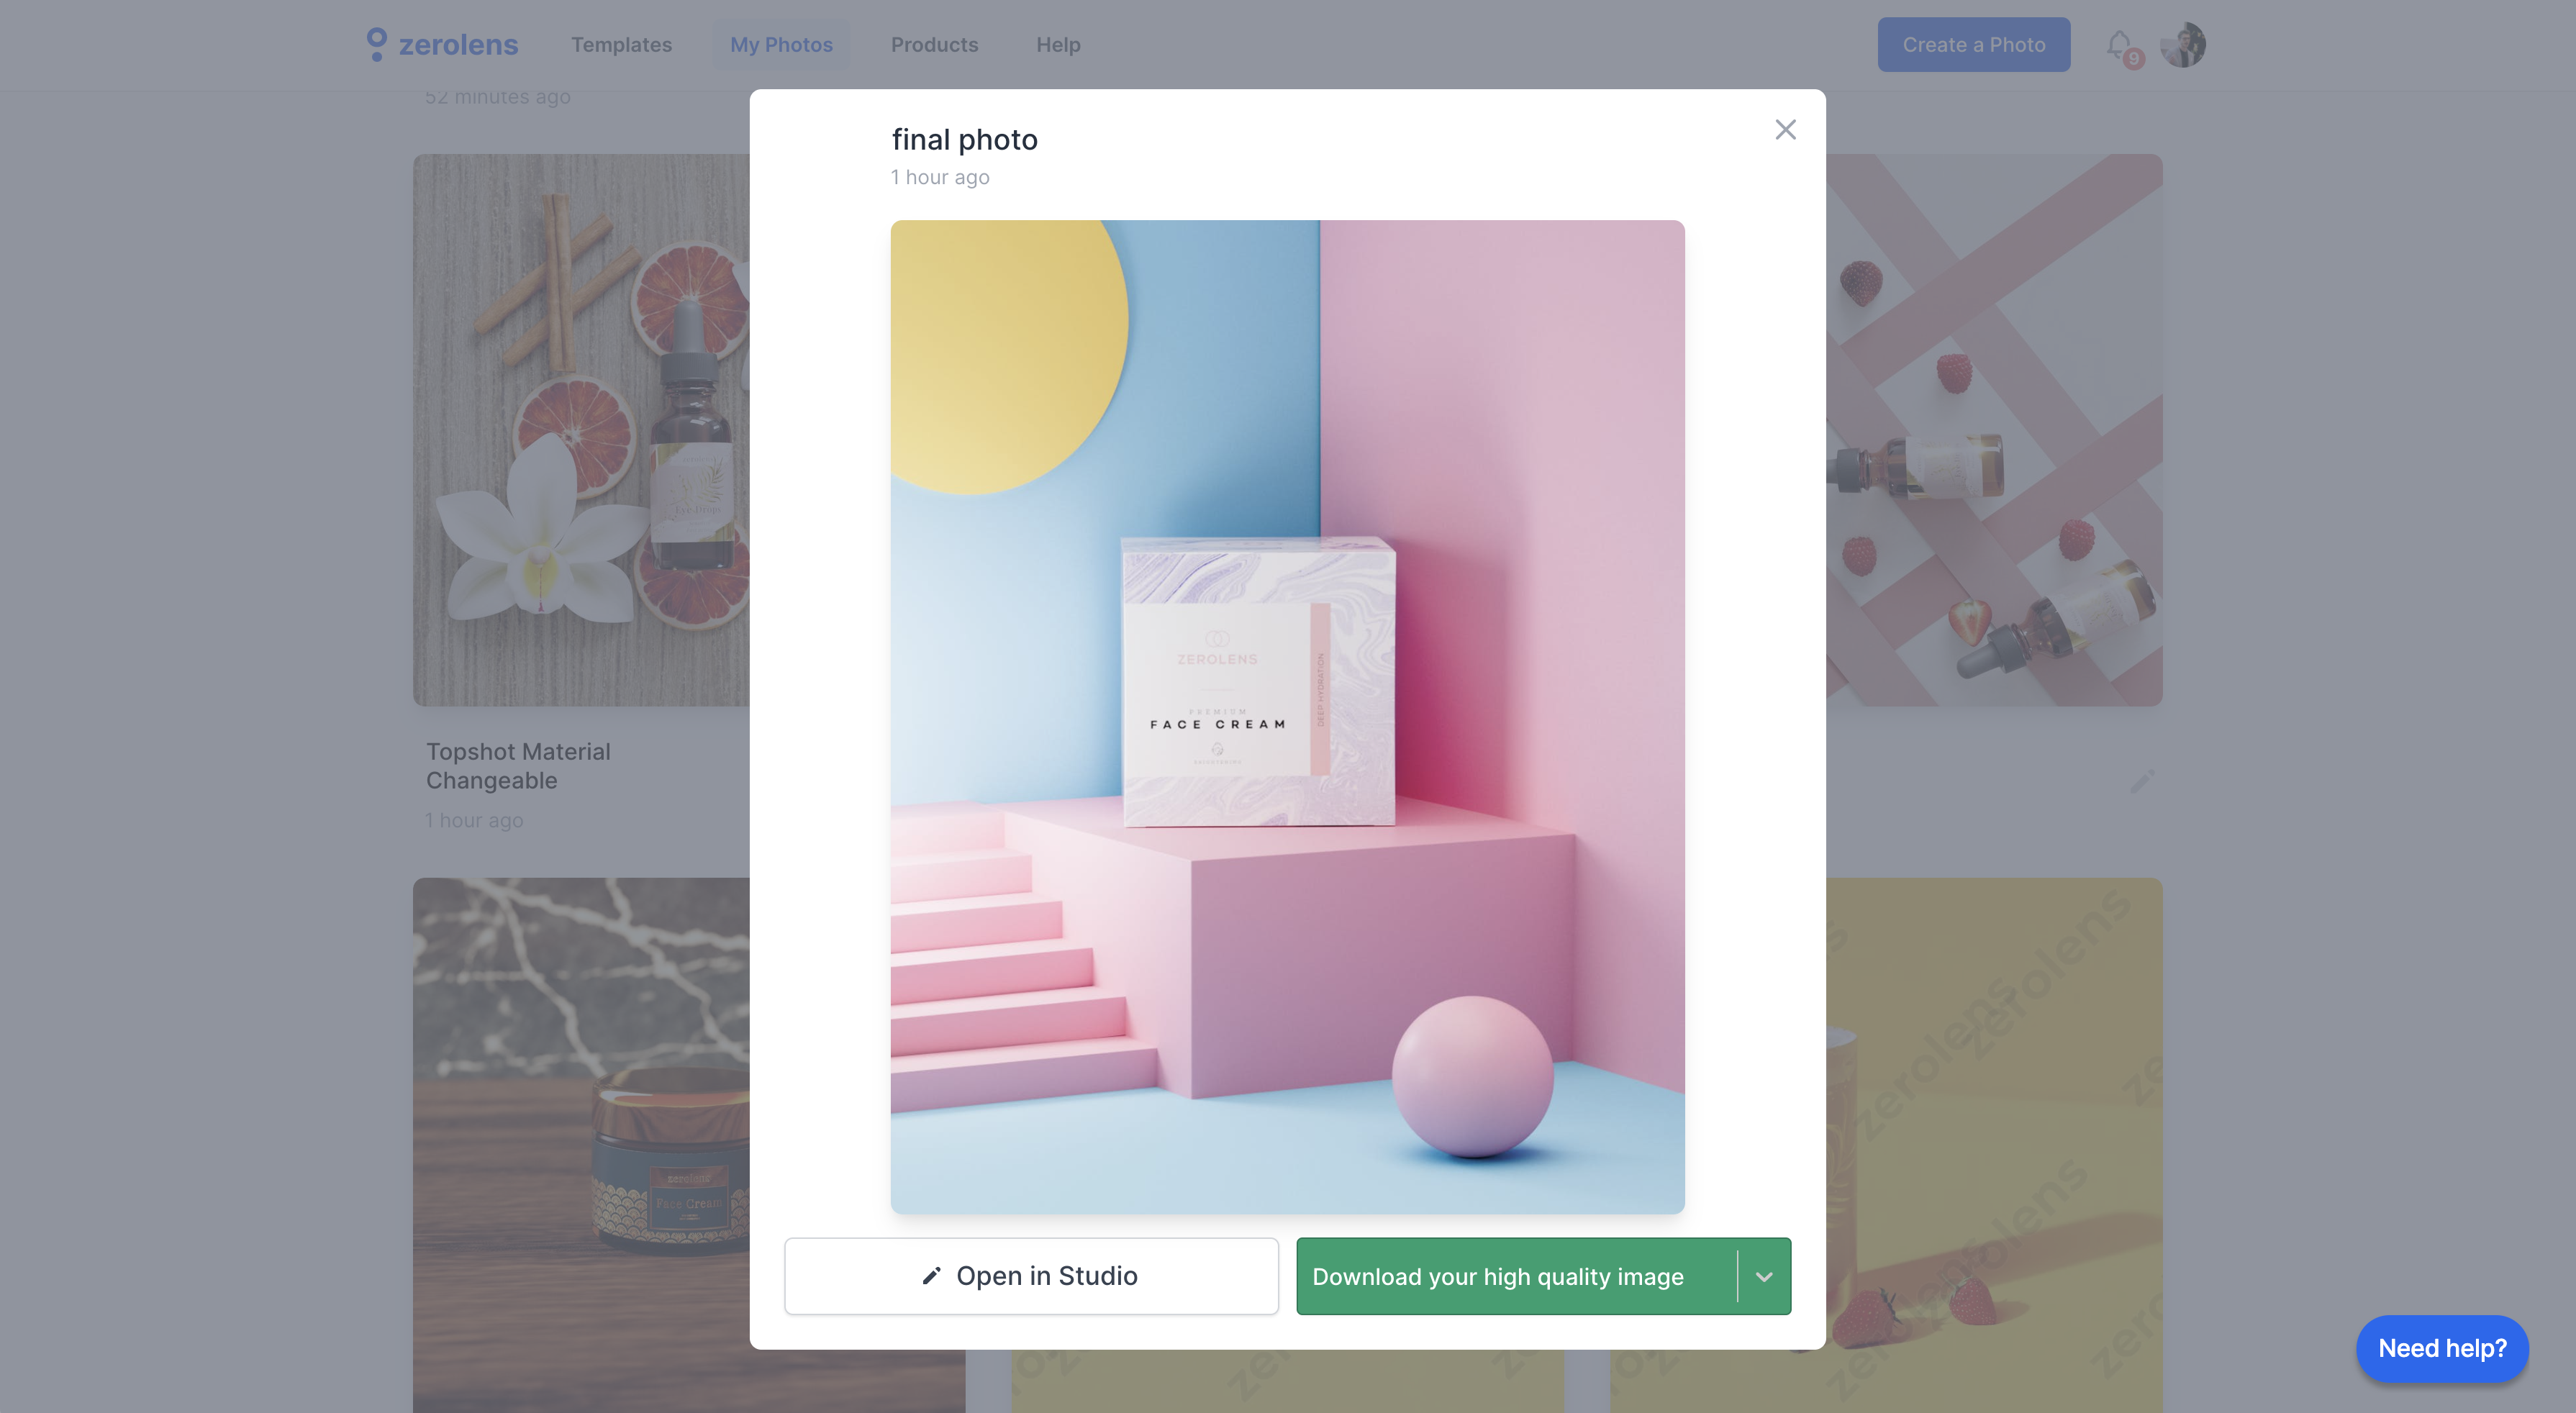
After a few minutes your photo is ready and you can find it under the "My Photos" tab.
Happy photo shooting :)


