Edit Materials or Add Labels
In this post you'll learn how to add a product label and edit the materials on your 3D models. Also check out our Tutorial on this topic. We will cover the following topics:
- Add materials to 3D models
- Change the color of materials
- Add your label to a 3D model
- Create masked materials
- Combining two different materials
1. Add materials to 3D models
In order to add a new material select a part of your 3D model and Click "Add Material".
Now you can select a material that matches the material of your product best (try to find a material that is as close as possible to reality but don't worry if it's not a perfect fit, you can fine-tune the material as well in a next step.)
2. Change the color of materials
Most of the materials in the zerolens library are color changeable. If you add a material you can simply click on the color field of the material and select the color you prefer.
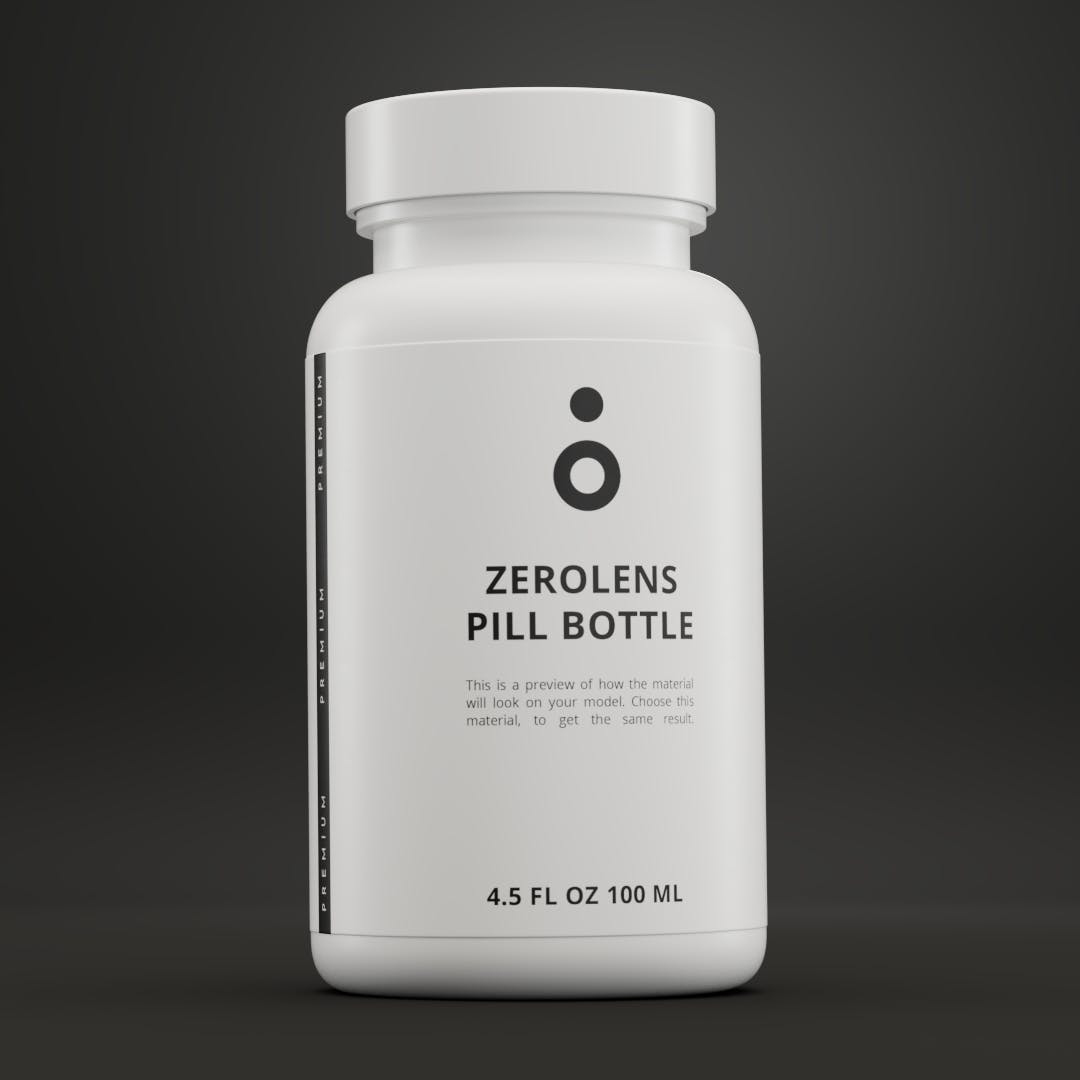
3. Add your label to a 3D model
If you have a product with a label this sections shows you how to add it.
1. Prepare your label as .png or .jpeg file and make sure that the label has the right aspect ratio and comes in high resolution.
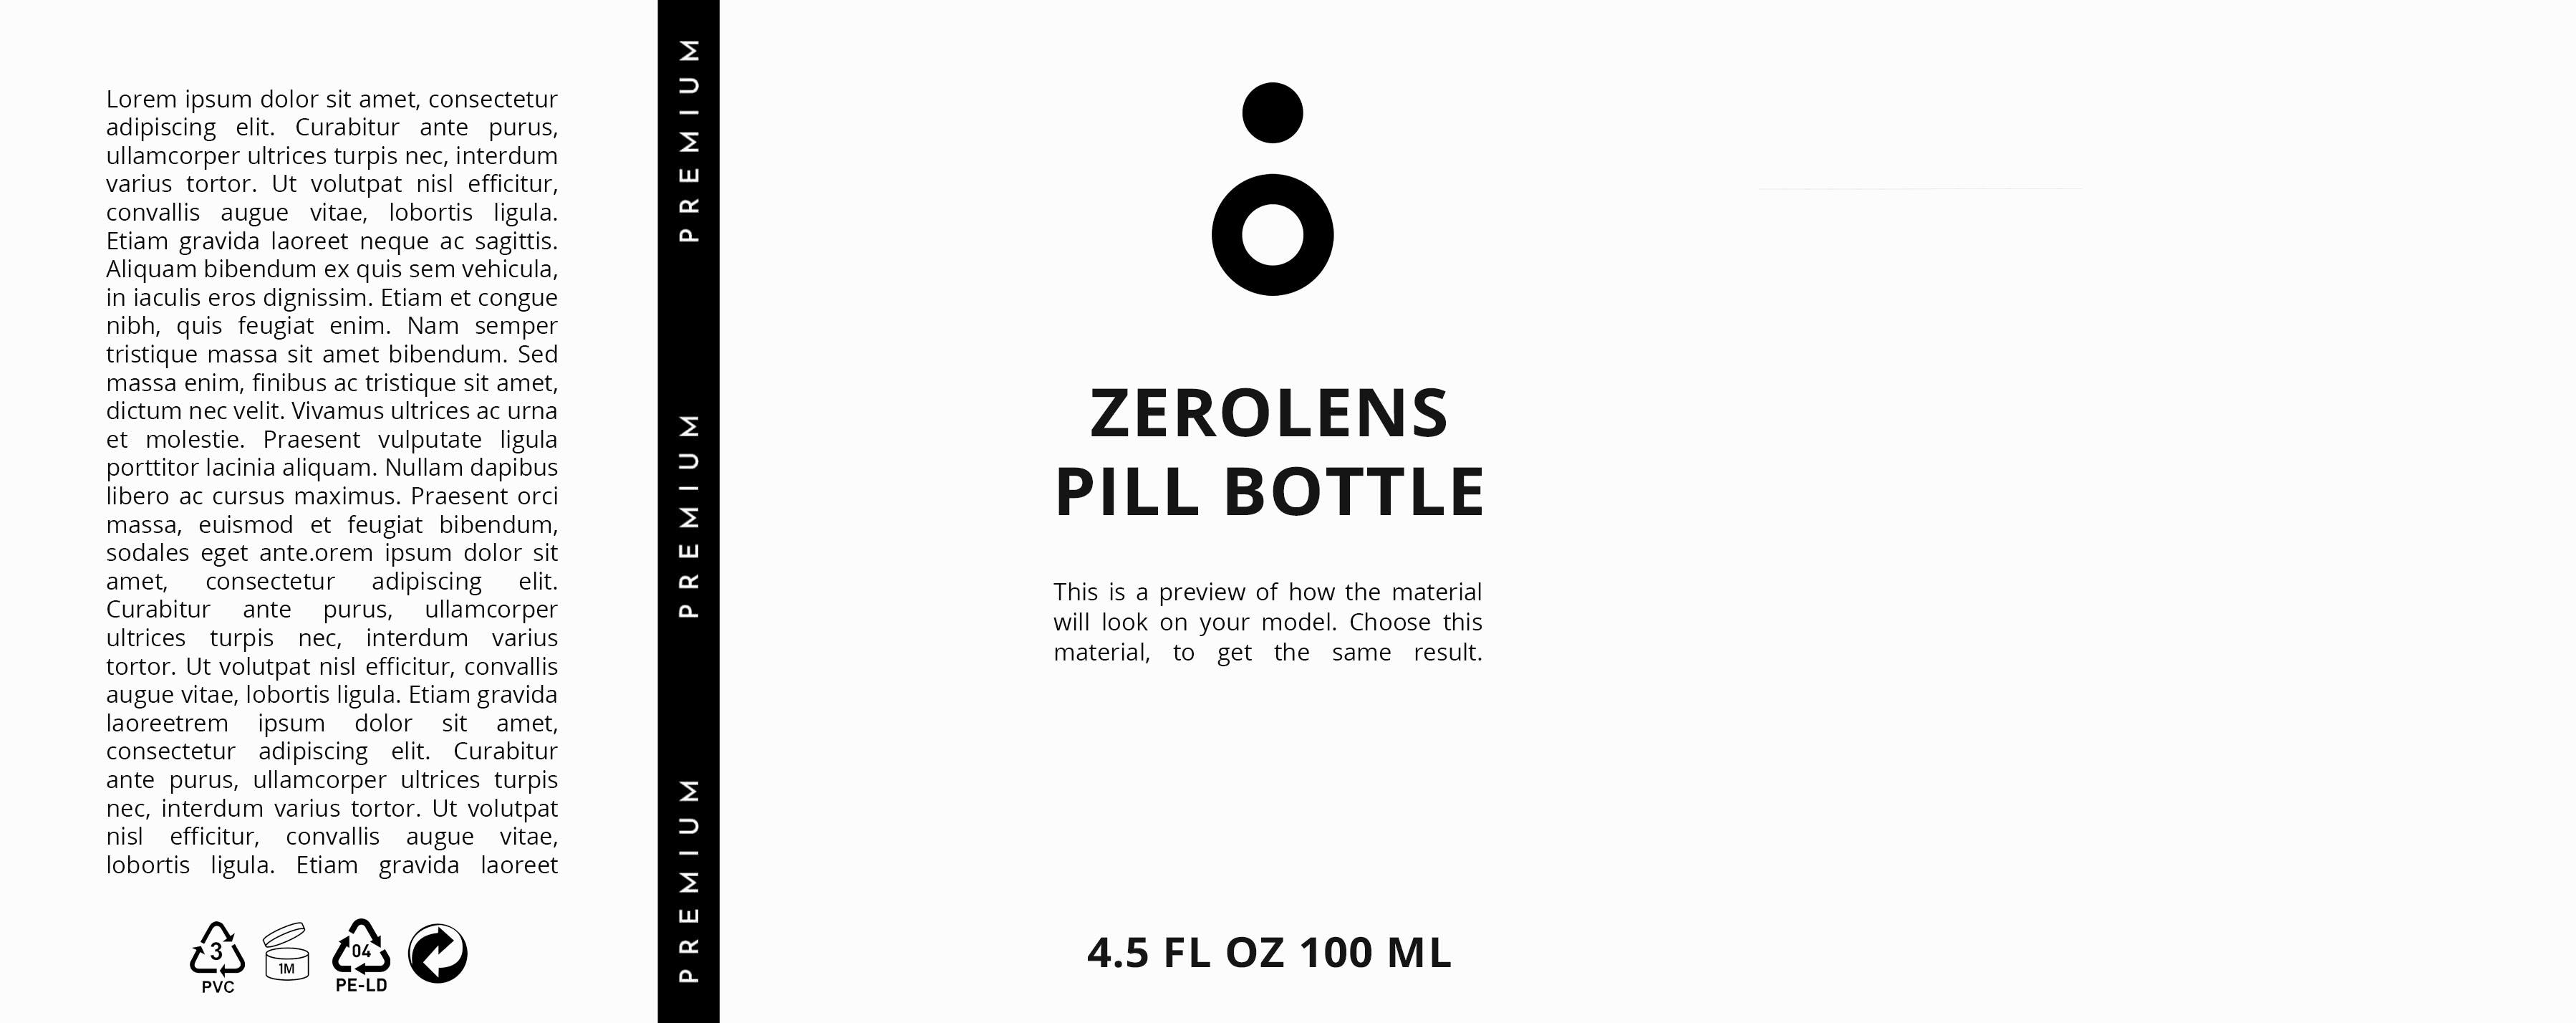
Example label
2. Add the material that your label consists of (for example paper) on the right part of your 3D model. You then can upload and assign your label. Here a short video how this works:
4. Create masked materials
A masked material is a material that is only applied to certain parts of the model. This is used, for example, when you want to add text in a specific material to your 3D model. In our example we will try to add a label in a gold metallic material.
1. The first step is to prepare a mask that we can use
How does a mask look like? It's a black and white image (jpeg or png) with the parts that we want to have as material in white color.
2. We have to choose the material we want to use
In our example it is a golden metallic material. We can then upload and assign the mask to this material on the mask layer.

5. Combining different materials
You can also stack different materials on top of each other to put more than one material on a specific place in your 3D model. For example, you can create a metallic base material with paper material text on it. Let's try this out!
1. In order to create such a material you first need to select the ground material.
In our example we choose a copper metal.
2. We then add the second material with a mask
Note: Without the mask, only the second material would be visible. This material will be the font of the label. The result is a material that is metal but has a paper font on top of it.
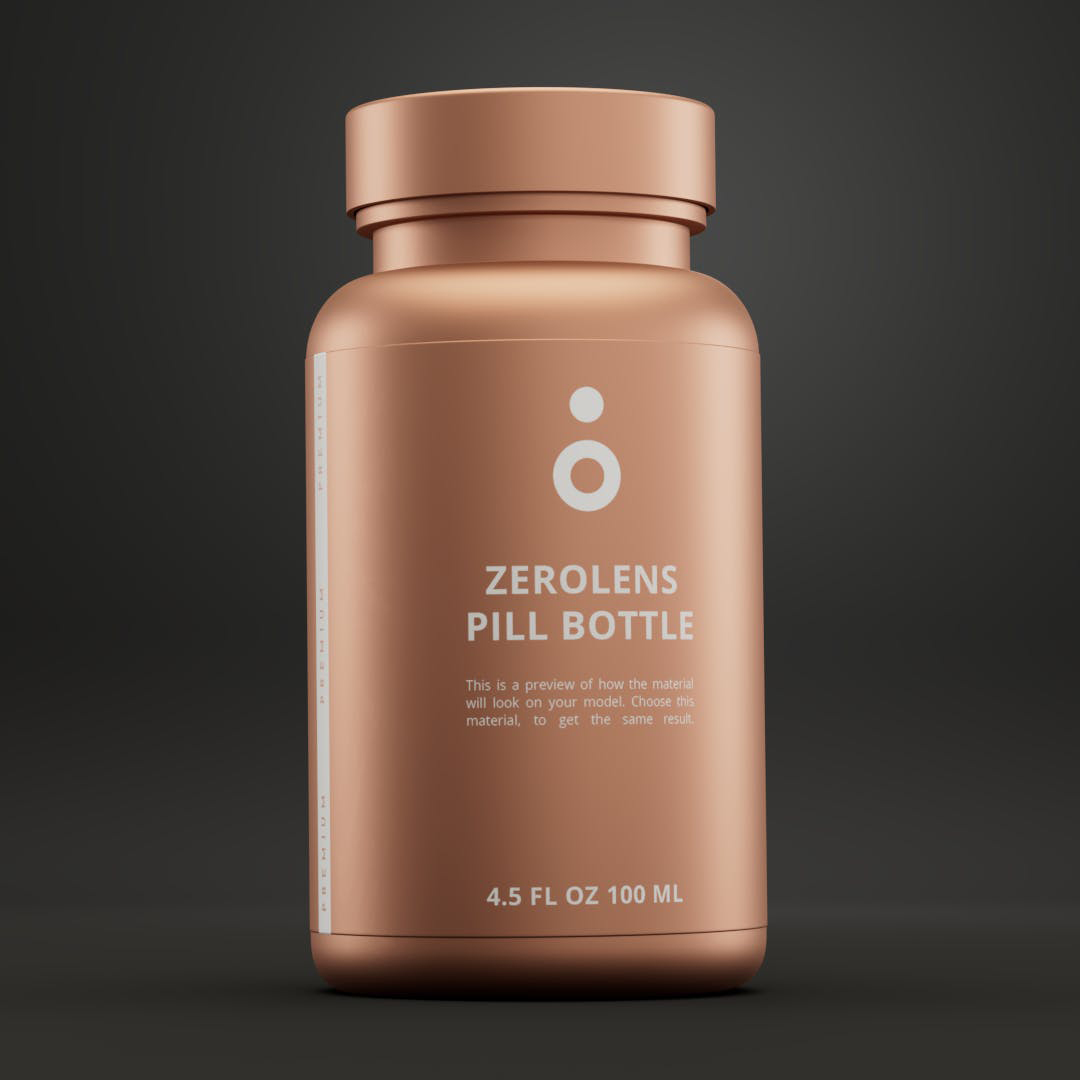
With the material combination method, you can stack different materials and create more complex appearances.


