Easily Import 3D Models to zerolens
If you have your own 3D model this article helps you to understand how to upload your own 3D model to zerolens, apply materials and turn it into your product by adding a label. Do you still need 3D model? There are several steps you need to take to upload your product's 3D model:
- Check your 3D model format
- Import the 3D model file
- Set the rotation and size of the 3D model
- Add a material to the 3D model
- Create a test photo of the 3D model
Feel free to watch our Tutorial Video below and read through our written article.
1. Check your 3D model format
First make sure that your 3D model comes in the right data format. Here is our guide of formats that are currently supported. If you don't have a supported format, export or try to convert it into a supported file format.
2. Import 3D model
Go to the "Products Section" in zerolens and add a new 3D model.

Choose the file you want from your computer and import it to zerolens. The system needs some seconds to convert the file.

3. Set the rotation and size of the 3D model
By setting the rotation, you can ensure that the default rotation of your 3D model is set up correctly. With the arrows you can rotate the 3D model to a desired position.

Set the correct size of your 3D model, so that it will appear in a realistic scale to other objects and photo sets.

Click next step.
4. Add a material to the 3D model
Our platform uses a workflow with physical correct materials. You can simply choose from a large library of
materials and apply them to your 3D model. In order to apply materials follow the steps below.
4.1 Select a part of your 3D model and add a new material
In order to add a new material select a part of your 3D model and Click "Add Material".
Now you can select a material that matches the material of your product best (try to find a material that is as close as possible to reality but don't worry if it's not a perfect fit, you can fine-tune the material as well in a next step).
4.2 Change the color of materials
Most of the materials in the zerolens library are color changeable. If you add a material you can simply Click on the "Color Field" of the material and select the color you prefer.
4.3 Add product labels
If you have a product with a label this sections shows you how to add it.
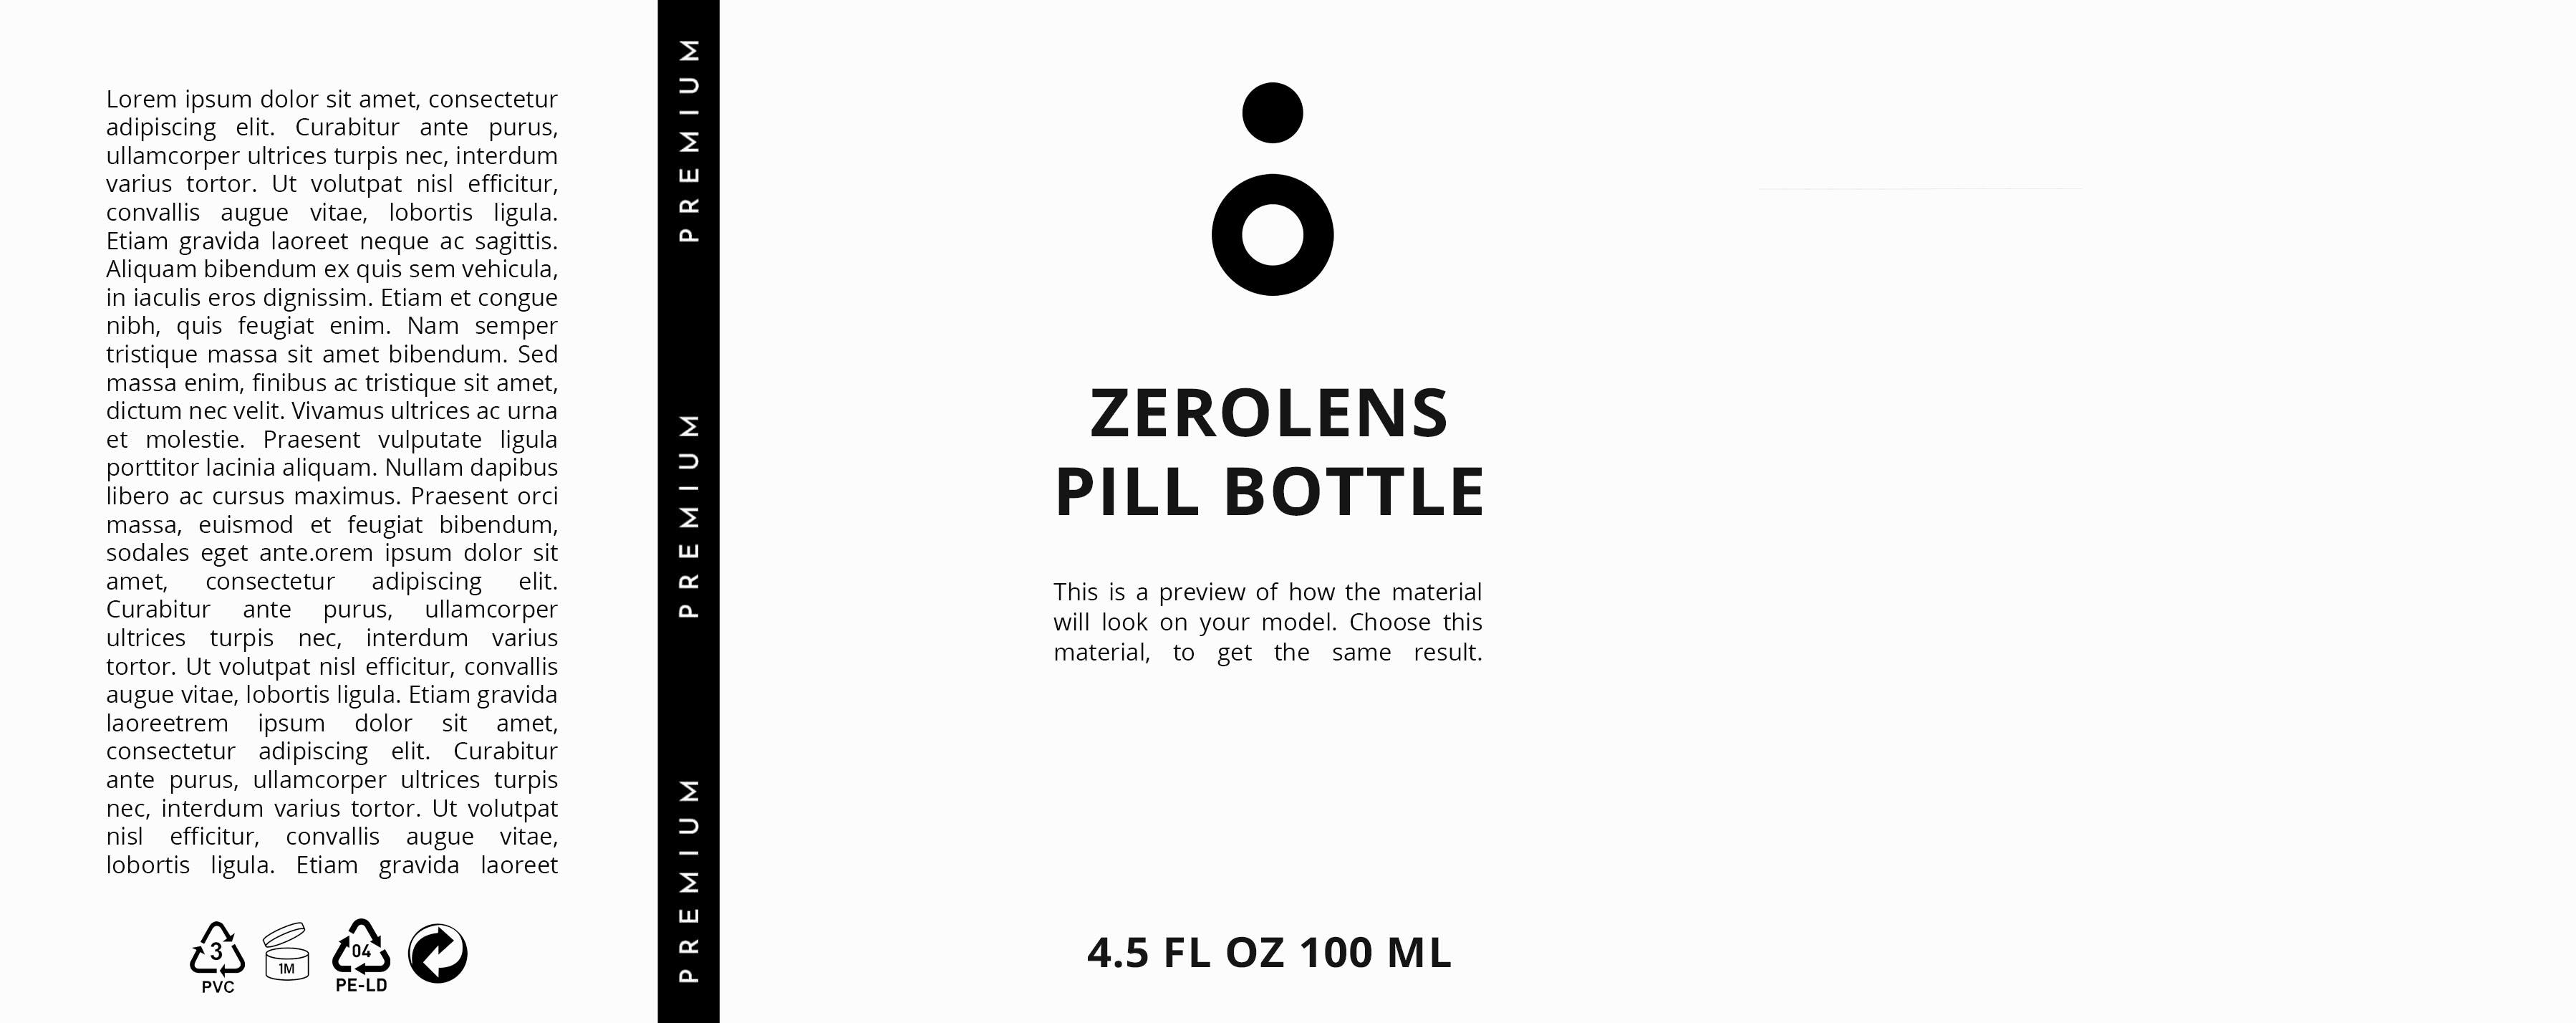
1. Prepare your label as .png or .jpeg file and make sure that the label has the right aspect ratio and comes in high resolution.

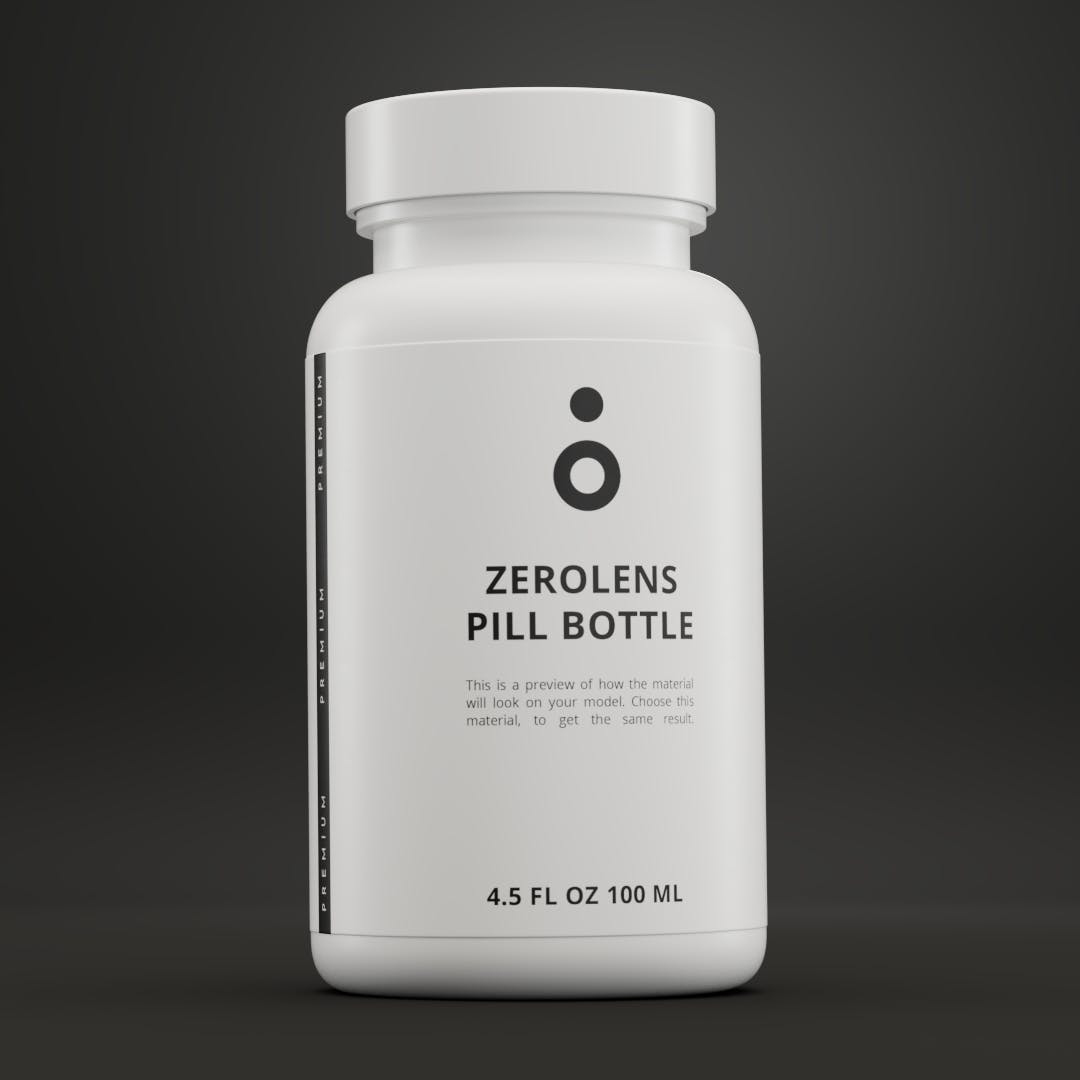
2. Add the material that your label consists of (for example paper) on the right part of your 3D model. You then can upload and assign your label. Here a short video how this works:
Also learn about masking and adding multiple materials to one part of your product.
5. Create a test photo of the 3D model
As a last step you can now create a high-quality test photo to see if you like the result.
Hint: You can also duplicate existing models by clicking on the duplication button while editing a 3D model to create different variations of your model.


